These days, it’s easier than it’s ever been to make a site. You don’t need to be a seasoned developer to put together something functional and stylish. At the same time, there are a handful of steps involved in building a quality website, and not all of them are readily apparent. This is where this guide comes into play!
💡 Before we begin, you’ll need to pick the platform you’ll use. In our opinion, this is an easy choice. WordPress is a free, open-source, and beginner-friendly Content Management System (CMS) ideal for nearly any website. What’s more, the process of creating a site using WordPress is remarkably straightforward.
In this guide, we’re going to walk you through each step required to make a site on WordPress. We’ll discuss how to choose a host, install your site, customize its look and functionality, and more. Let’s jump right in!
📚 Table of contents:
- Step 1: Choose a name for your website
- Step 2: Pick a hosting provider
- Step 3: Install your WordPress website
- Step 4: Select a theme for your new site
- Step 5: Add some plugins to your WordPress installation
- Step 6: Create your core pages and content
- Step 7: Attract traffic to your site
- Step 8: Monetize your website
Step 1: Choose a name for your website
A lot of decisions about your website can be made once it’s set up, although you’ll need to settle on a name upfront. This is because one of the first steps required to make a site is to purchase a domain name (i.e., mywebsite.com) – which should ideally be the same as (or a close match to) your site’s name.
Since picking a name is a creative and individualized process, much of the work here will be up to you. However, we can offer some suggestions. For instance, you’ll want your site’s name to be:
- Unique and ‘brandable’: In other words, it shouldn’t be similar to the names of any other sites in your niche or industry.
- Short and uncomplicated: A concise name is easier to remember, as is one that avoids too-clever spellings or numbers in the place of letters.
- Reflective of your site’s focus: This is key – your site’s name should tell visitors what it’s all about.
If you need help coming up with name options, you can use a tool like Domain Wheel to spark inspiration:
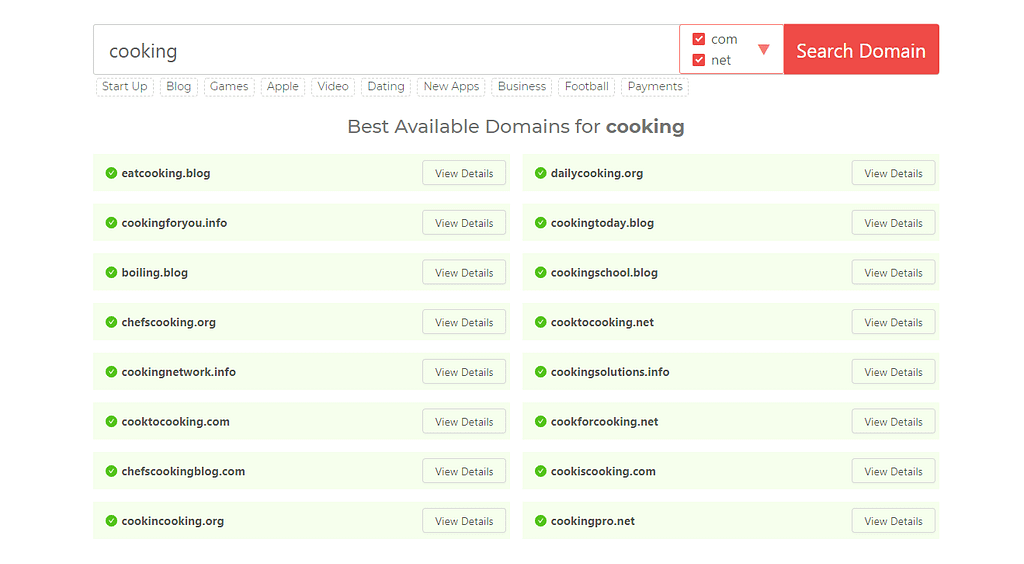
This will also let you know what domain names are actually available, so you can choose one that’s up for purchase.
ℹ️ Don’t buy the domain just yet. At this stage, we’re just checking what’s available.
Step 2: Pick a hosting provider
Next, you’ll need a hosting plan to get your site online. This will be the primary cost involved in running your WordPress website, as you’ll need to pay a monthly fee. Fortunately, it’s easy to find starter plans for less than $5 per month, which you can sign up for before you make a site.
There are many types of hosting plans available, but you’ll likely be fine with a simple shared plan in the beginning. You can always upgrade to something more powerful later on, when you start getting more traffic. It’s also a good idea to look for a hosting provider with WordPress-specific features and plans.
To get you started, here are a few web hosts we’d suggest checking out:
- Bluehost: This host is officially recommended by WordPress.org, and is one of the most affordable options. From $2.95 per month and it comes with a free domain name, so you don’t need to pay for that separately (👈 recommended).
- SiteGround: This is another official recommendation, offering solid performance and resources. From $3.95 per month.
- Namecheap: With this host, you can create up to three sites on a very cheap plan. From $2.88 per month.
- Hosting.com: You can pay by the month with this provider and still get the lowest price. From $3.92 per month.
- InMotion: The lowest-tier plan at this provider supports two websites. From $3.99 per month.
When you purchase a hosting plan, you’ll also be given the option to get the domain name you want. Getting your domain name and hosting from the same place is a smart move if you’d like to keep things simple.
Step 3: Install your WordPress website
It may surprise you, but this is the easiest step of all. This is because any hosting provider worth the purchase price will provide you with a quick and easy way to set up your website. Like this one:

The way you make a site will vary based on the company. Generally, you’ll either get a pre-installed website, or be walked through the process via a simple wizard. Both Bluehost and SiteGround provide you with this option.
Either way, your host should have you up and running with your new website quickly. If you experience any problems, your best bet is to reach out to the provider’s support team for assistance.
Step 4: Select a theme for your new site
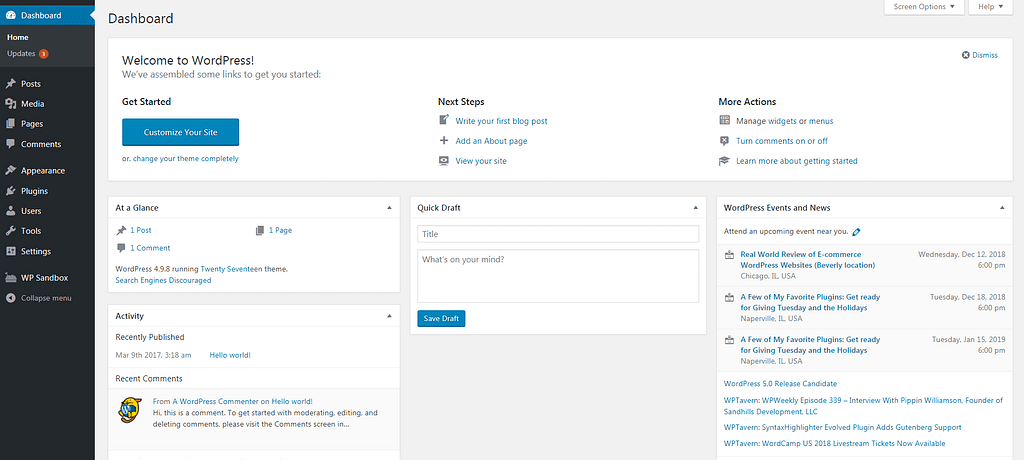
Once your website is installed, you can log in to visit your admin dashboard:
If you click on the name of your site in the top-left corner of the screen, then select Visit Site, you can see what it looks like on the front end:
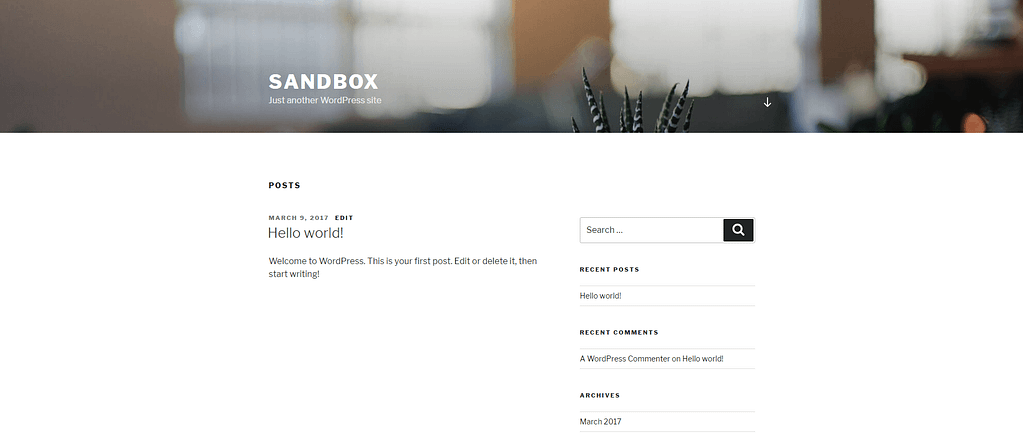
Right now, your site will almost certainly have the default theme installed. Your WordPress theme controls the layout and appearance of your site, and the basic options are pretty boring (not to mention over-used). Therefore, the first thing you’ll want to do is pick out something more suitable.
Fortunately, there are a lot of places to find both free and premium WordPress themes. You can browse the WordPress theme directory, for example, or check out our own database of over 900 free theme options.
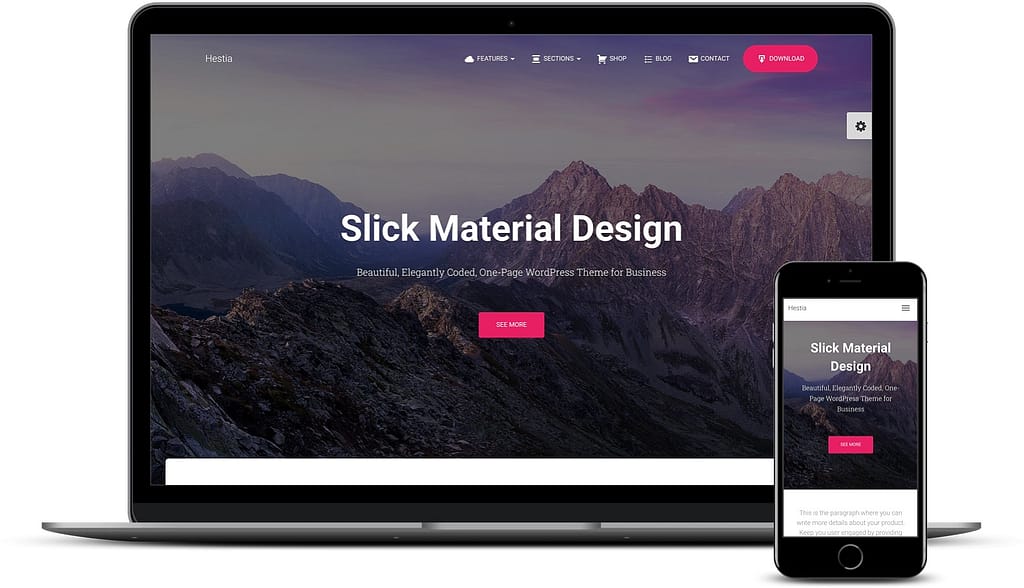
🤔 Can’t decide on a WordPress theme? How about checking out either of these two popular themes:

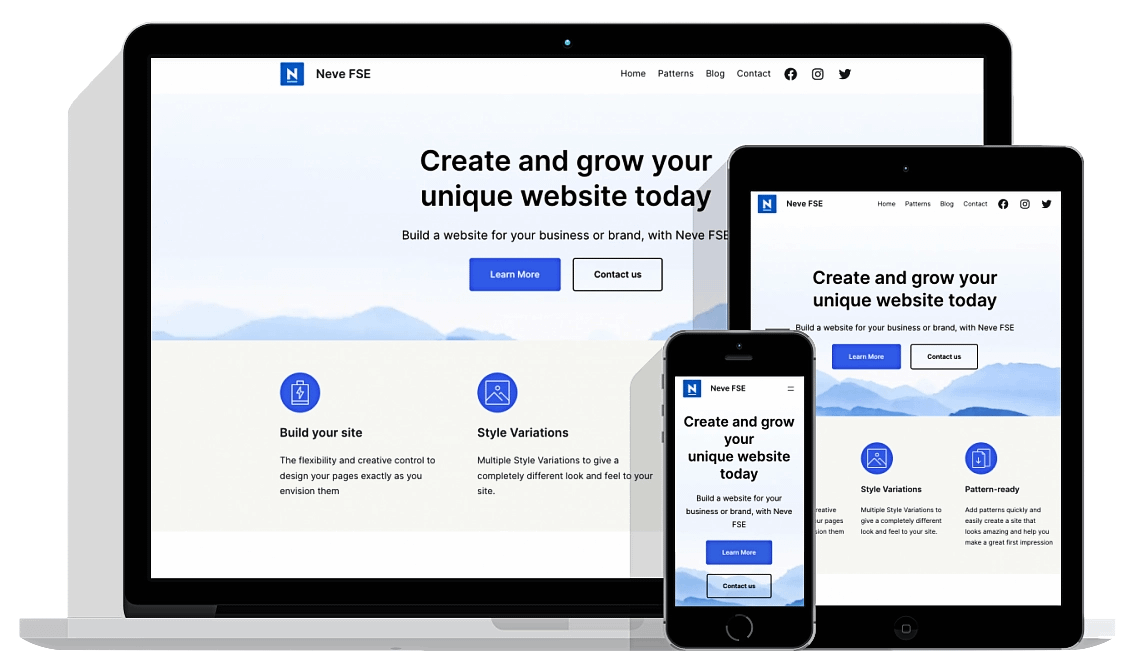
If you’re specifically looking to build a one-page website, then we highly recommend:
Once you find a theme you like, installing it is a simple process. Just make sure to choose carefully. Check out the theme’s reviews and ratings to see what other users think of it, and make sure it’s actively updated.
Also, it’s important to note that you’re not stuck with your theme’s default appearance either – you can tweak its look using the WordPress Customizer.
Step 5: Add some plugins to your WordPress installation
We’ve already talked about themes, which let you alter your site’s visual style. In contrast, WordPress plugins add new features and functionality to your site. You can think of them like apps for your phone – and the variety on offer is also similar:
There are plugins that make very small changes to your site, and solutions adding a wide range of features and options. By selecting your plugins carefully when you make a site, you can set your site up do to exactly what you need.
While most of your plugin choices will depend on your site’s niche and purpose, there are some that come in handy on nearly any website, such as:
- Yoast SEO: Optimizing your site for search engines helps it attract traffic.
- UpdraftPlus: It’s vital to back up your site regularly.
- Wordfence Security: This security solution helps to spot and block malicious traffic.
- Optimole: Designed to automatically optimize and serve images in a fast, adaptive manner, improving website performance and user experience.
- Contact Form 7: This plugin lets you create and customize contact forms at will.
- Google Analytics for WordPress: Keeping an eye on your site’s metrics via Google Analytics is a smart move.
Of course, there are lots of other useful plugins too – we’d highly recommend exploring the WordPress Plugin Directory for additional options.
Step 6: Create your core pages and content
At this point, you have a solid framework in place. Your website is set up with the theme and plugins it will need, and it should be looking pretty good! However, it’s still empty of actual content.
Fortunately, this is an easy fix. Most importantly, you’ll want to set up the pages that will form the structure of your website. At the least, we’d suggest including the following:
- 👐 Homepage: A well-designed, attention-grabbing homepage is your best way to keep new visitors around.
- ☎️ Contact: It’s essential to give people a clear and easy way to get in touch with you.
- 📛 About / Bio: Offering some background on yourself, your team, and/or your business provides a vital humanizing element.
- 🏗️ Services / Portfolio: If you’re a freelancer or a business, showing visitors what you can do should be a primary focus.
- ⚖️ Privacy Policy: No matter what type of site you’re running, you need to be upfront about what data it collects and how the information is used.
Above all, remember that less is generally more when you make a site. You don’t want to overwhelm your visitors, so include only the information they’ll really need. If you’re planning to include a blog as part of your site, now is also a perfect time to set it up.
Step 7: Attract traffic to your site
Naturally, building a website and getting it online is only the first stage. Unless you happen to have a huge pre-built audience you can direct towards your site, you’ll need to spend some time figuring out how to attract traffic.
When it comes to increasing the number of eyes on your site, there are a lot of strategies you can employ. However, we’d recommend starting with two of the easiest and most effective – Search Engine Optimization (SEO) and social media marketing.
SEO is the process of optimizing your site’s content to ‘speak’ more clearly to search engines. Putting time into SEO helps search engines like Google understand what your content is all about, and show it to the right people.
We’ve written extensively on how to improve your site’s SEO elsewhere, so we won’t belabor the topic here. We’ll just point you towards the two most important first steps:
- Install an SEO plugin like Yoast (mentioned above), and follow its advice to optimize your content.
- Use a tool like Google Keyword Planner to research terms your audience may be interested in, and work them organically into your content.
After, getting involved on social media is the best thing you can do to attract lots of traffic. Pick a few key platforms to focus on, and be sure to post regularly. You can even share your site’s blog or news posts on social media, which is a perfect way to get people interested.
Step 8: Monetize your website
Technically, this step is optional. For example, if you’re building a personal blog or portfolio, you may not be looking to make money through your site.
However, if you do want to put your website to work for you, there are plenty of ways to generate some revenue from it. Plus, most of the popular options are very ‘scalable’. That means you can put as little or as much focus on this aspect of your website as you’d like.
If you’re new to monetizing a website, here are a few of the best ways to get started when you first make a site:
- Sign up for an affiliate marketing program. This lets you promote other companies’ products, and earn a small commission each time an item is sold.
- Place advertisements on your site. There are lots of ways to do this, but Google AdSense is an excellent option for beginners.
- Add a storefront to your site. Even if your website isn’t primarily a store, you can sell a few products on the side. WooCommerce is a handy tool to have here, as is Easy Digital Downloads (if you just want to sell digital goods).
None of these are get-rich-quick schemes, and they’ll take a little work to set up and nurture. At the same time, each can become a lucrative, largely-passive income stream when given time to grow.
Conclusion on how to make a site
Building a website used to be the realm of developers, but now it’s something anyone can do. Still, this doesn’t mean you’ll want to rush the process. Taking time to plan, develop, and promote your website will pay off in the long run, via increased traffic and even conversions.
In this guide, we’ve walked you through how to make a site on WordPress. To recap, the basic steps involved are:
- 📛 Choose a name for your website
- 💻 Pick a hosting provider
- ⚙️ Install your WordPress site
- 🎨 Select a theme
- 🔌 Add some plugins
- ✍️ Create your core pages and content
- 🏎️ Attract traffic
- 💰 Monetize your site
Now that you’ve learned how to build a website, you might want to check out our guide on how to start an online store.