Congratulations on your upcoming nuptials! While this is an exciting time, it can also be very stressful because there’s so much to do. So, to make life a little easier for you, we’ve created this guide on how to make a wedding website.
Below, we’ll walk you 🚶 through how to set up a wedding website, including which web host to pick, choosing a name for your site, selecting a theme, and the essential pages to include.
Some people might shy away from this task because they believe it’s complicated. But that’s not true! You don’t even need coding or technical skills to create a professional-looking wedding website. All you need to do is follow the steps we’ve laid out in this article.
👉 All you need to do is follow the steps we’ve laid out in this article.
But first, when’s the right time to do this?
When to make a wedding website
Confused about when’s the right time ⌚️ to create your website? To answer this, we first need to understand the function of a wedding website.
Your wedding website will act as a centralized platform where information such as your wedding date, venue, photographs, and more can be shared.
While there’s no “perfect” time, many couples decide to create their website as soon as they have a date and venue confirmed or around 6 – 8 months before the big day.
While creating your site, don’t feel pressured to have every single aspect finalized. You can start with basic details (e.g., date, venue, theme, etc.) and then update the site as needed.
How much does a wedding website cost?
This amount differs from couple to couple. Some people choose to hire a website designer and get it professionally done, while others choose the DIY route. If you choose to make the website yourself, spending 💵 $50 – $100 is reasonable.
How to make a wedding website in 5 easy steps
- Step 1: Pick a domain name
- Step 2: Choose a web host
- Step 3: Install WordPress
- Step 4: Choose a theme
- Step 5: Create important pages or sections
Step 1: Pick a domain name
A domain name is basically what your guests will type into their browsers when they want to visit your site. For example, our domain name is domainwheel.com.
Domain prices range from $10 to $20 to renew every year, but you can often get significant discounts for the first year of having a domain. Since your wedding site probably won’t be up for multiple years, this means you can spend as little as $1 on your domain.
Moreover, some popular web hosting services (we’ll cover this in the next step), offer a free domain for the first year.
To pick a suitable domain name, aim to make it simple, easy to spell, and relevant.
The name can be:
- A mixture of you and your soon-to-be spouse’s names
- A reflection of your overall theme
- Anything that will represent your big day
If you’re struggling to find the perfect name, you can use a tool like our Domain Name Generator. It’s free and can give you lots of suggestions.
All you need to do is type in a word or group of words you’re considering and click the “Search Domain” button.
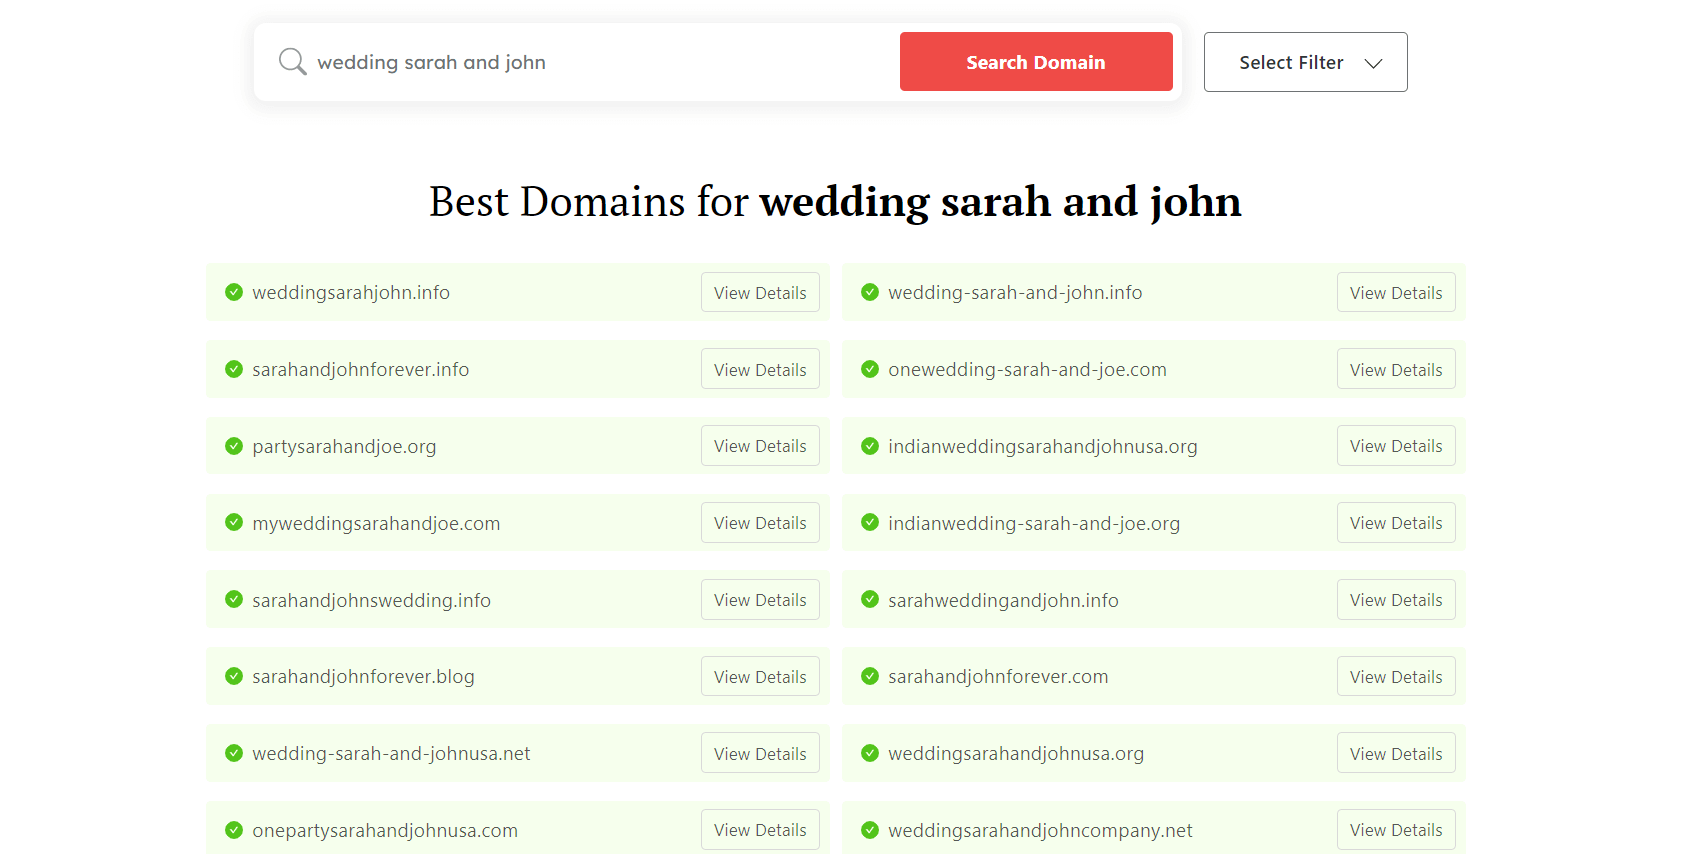
In just a few seconds, 😎 the tool will return lots of domain name options you can use, including names that sound similar to your suggested name and names that rhyme with it.
Step 2: Choose a web host
A web host is a service that makes your website accessible online. You can think of it as where your website will “live” on the internet.
There are many different hosts to choose from. One we often 👉 recommend is Bluehost. Bluehost is very affordable, with monthly plans starting at just $2.95, and it offers a free domain name for the first year.
While you can purchase your domain name separately from the web host, for simplicity, 👉 we recommend that you get your domain and hosting from the same platform.
Step 3: Install WordPress
Now it’s time to find a CMS (Content Management System). This system will help manage your website, its themes, and functions.
👉 We recommend WordPress as the best place to make a wedding website because:
- The platform is beginner friendly and easy to navigate.
- It offers many free themes and plugins.
- WordPress has lots of mobile-friendly themes.
- It allows for many social media integrations with platforms like Facebook, Instagram, Pinterest, and more.
Most web hosts will guide you through the process of installing WordPress. If you choose to go with Bluehost you can check out our guide on how to install WordPress on Bluehost.
Step 4: Choose a theme
Your website theme is the software that will determine how your site will look and function.
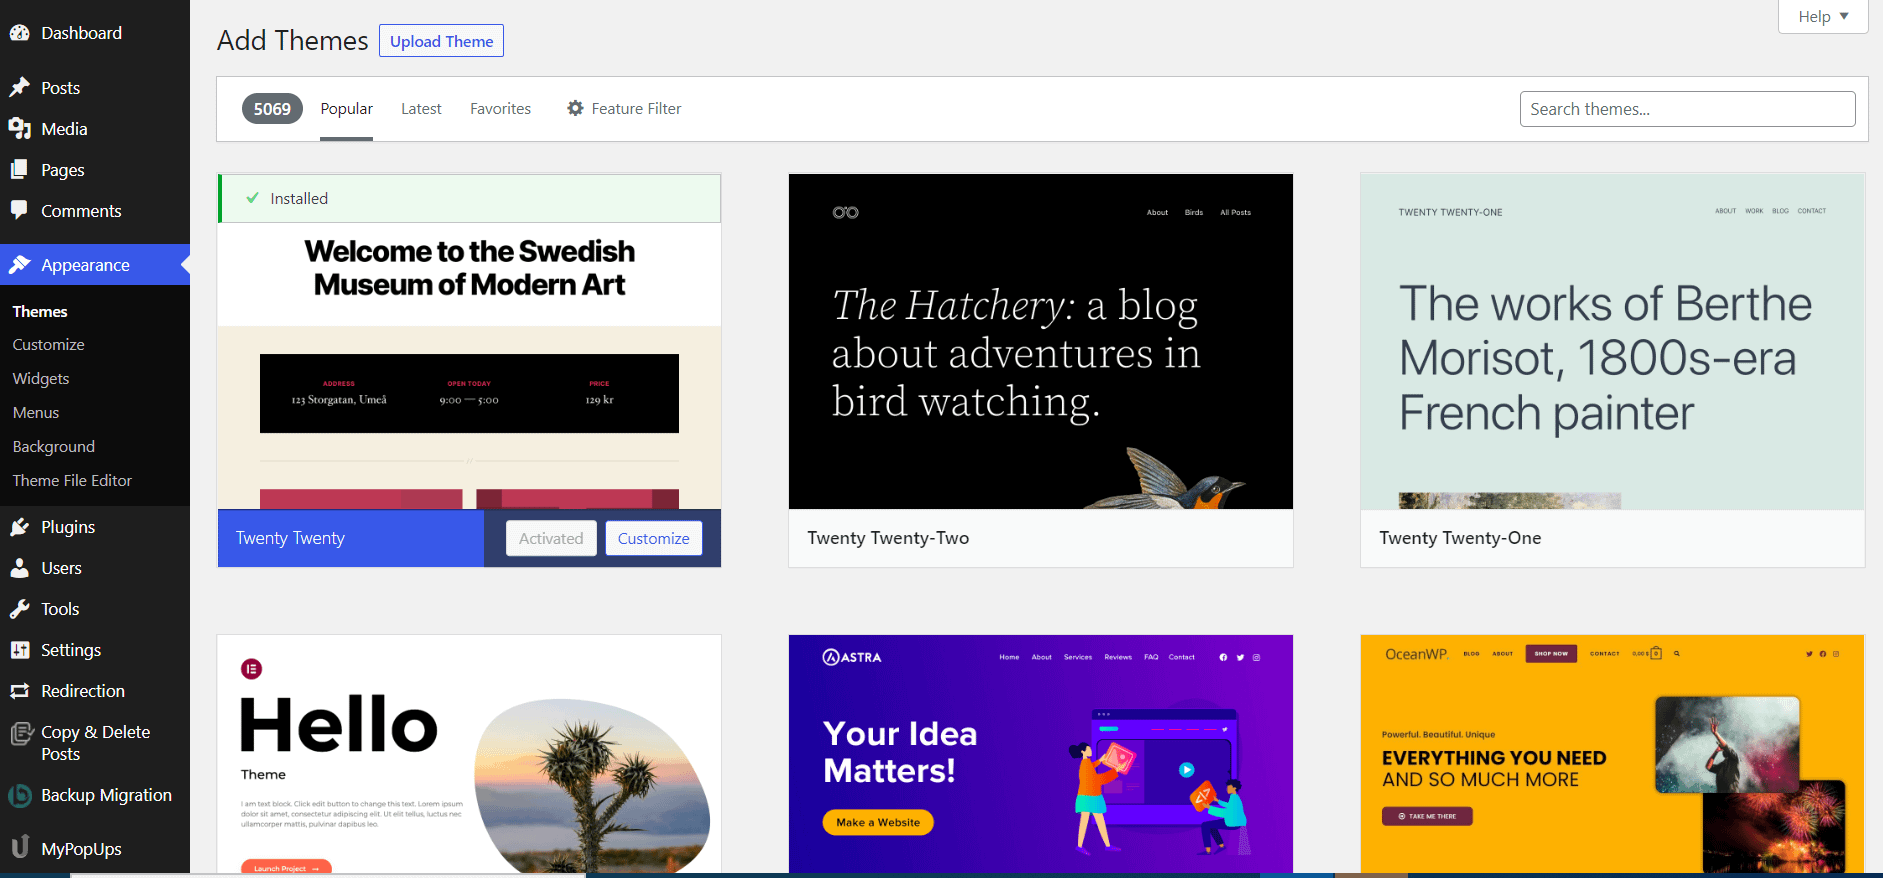
To begin, simply log into your WordPress dashboard.
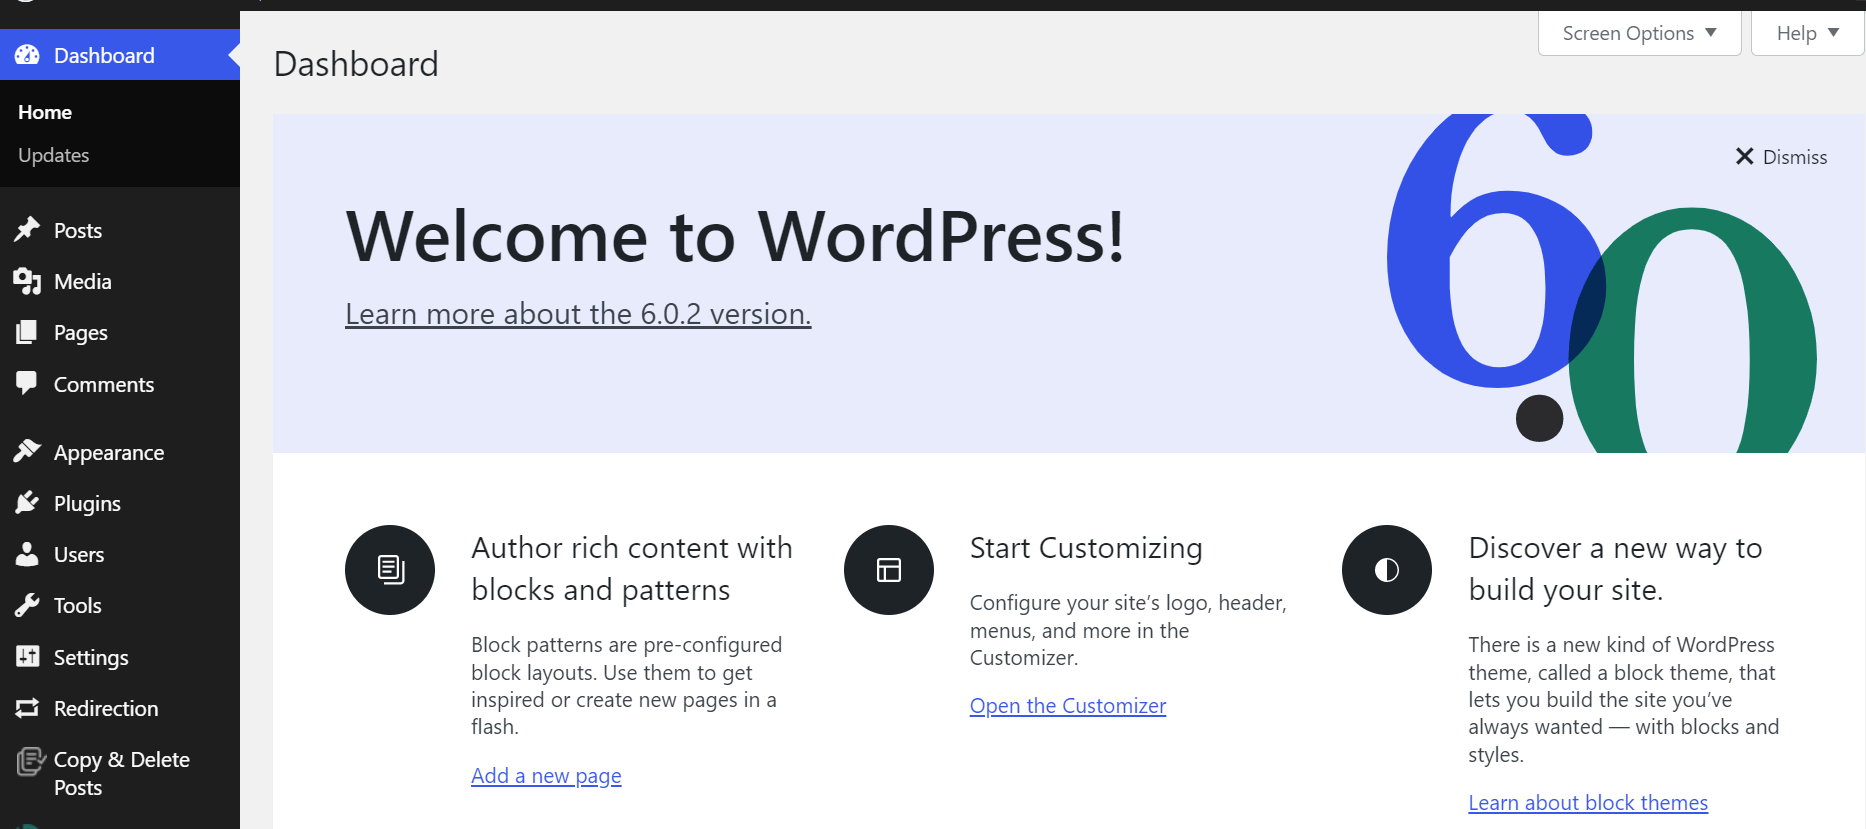
Then navigate to Appearance > Themes in the sidebar menu.
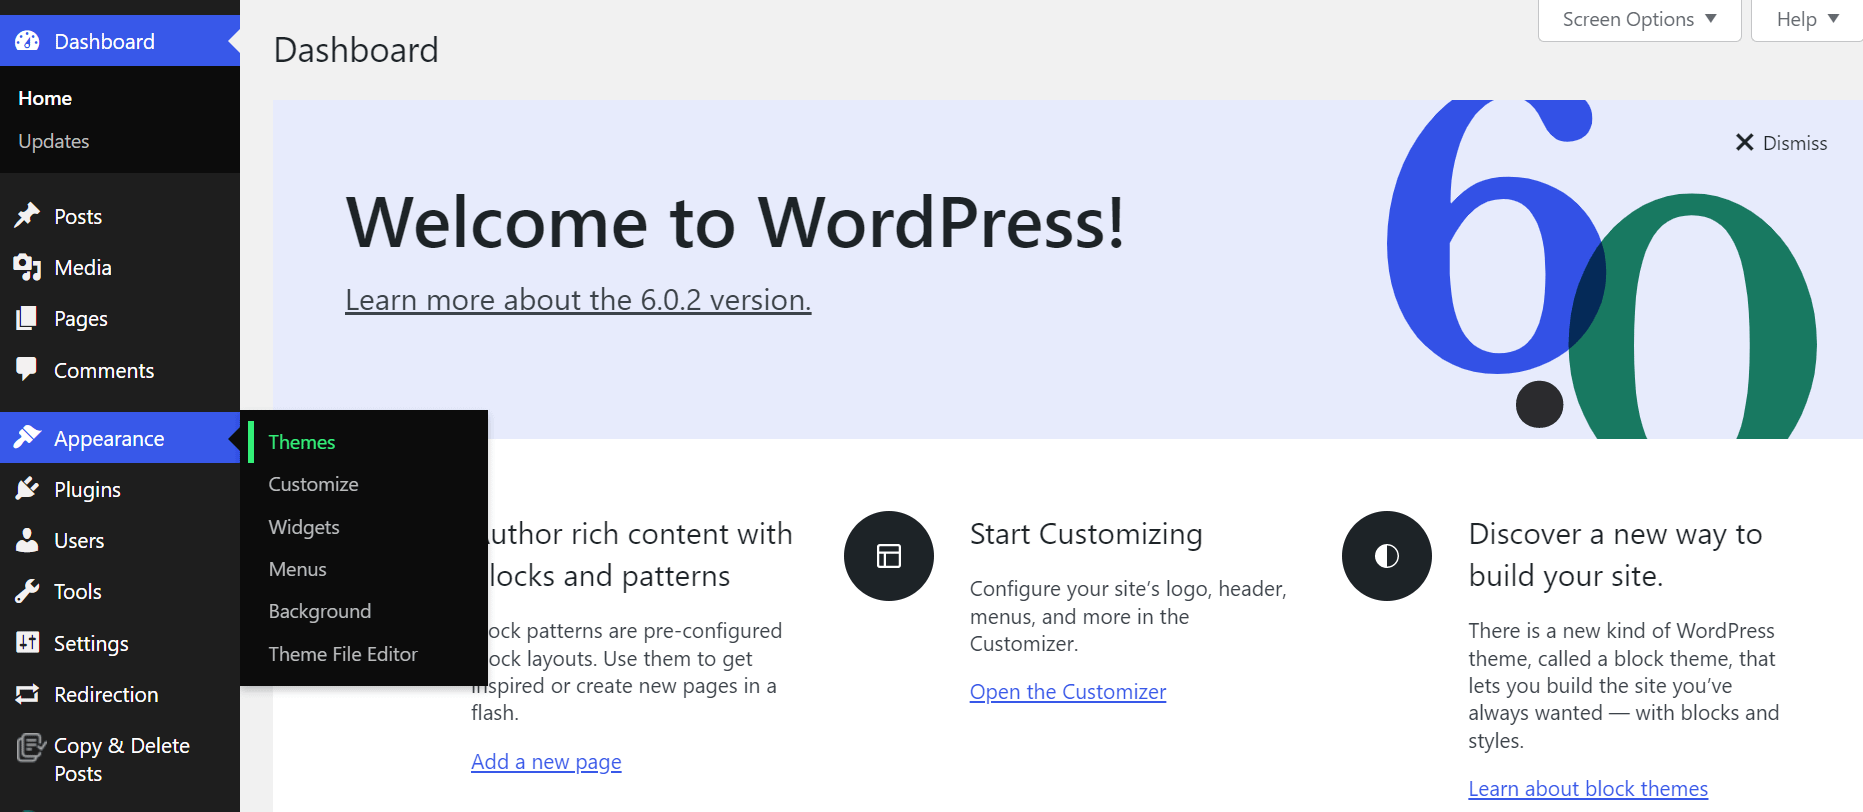
Since your website is new, this will lead you to a page with your default theme.
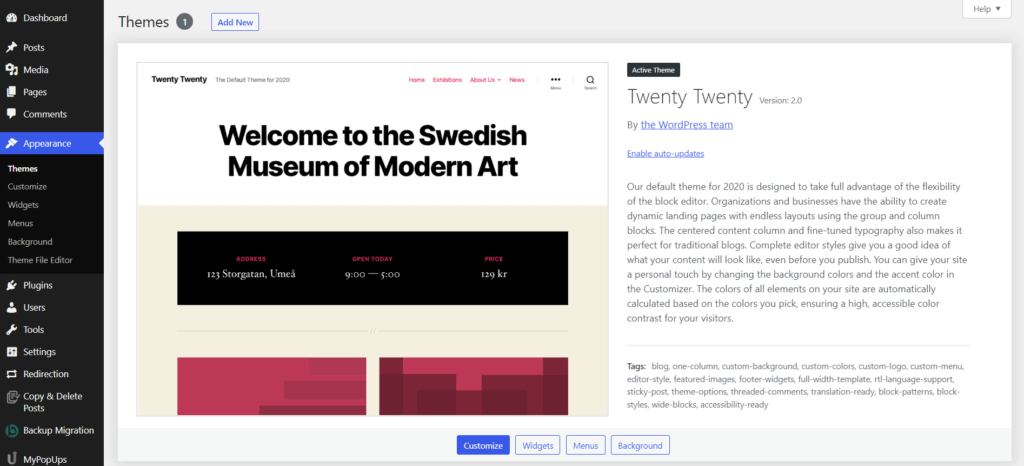
For your entire theme library, just click on Add New at the top.
You will now be able to view and add the design you want. You can pick a layout matching you and your soon-to-be spouse’s personalities, theme, or wedding destination. Some themes are premium while others are free.
One of our favorites themes is Neve Wedding by Themeisle:

We love it 💗 because:
- It offers all the pages you need for a wedding website. All you need to do is change the images and details to your own.
- It’s responsive. So it looks good on pc, mobile phones, and tablets.
- Its clean design makes it easy for visitors to navigate.
Step 5: Create important pages or sections
The last step on how to make a wedding website involves creating pages or specific sections.
To decide which ones to include, remember that the function of your website is to be a go-to resource for your wedding guests. With this in mind, here are a few pages to consider including:
Our story
You can view this as the About Us page you usually see on websites. But, for a wedding site, this is the page where you can tell the story of how you met, your first date, the proposal, and any memorable moments that have helped to define you as a couple. You can also add a “check out our playlist” link for a playlist that you’ve curated together.
Wedding party
You can add a section with short introductions and photographs of your parents, bridesmaids, groomsmen, and any other VIP guests.
Dress code or theme
You can help your guests prepare their attire by informing them about whether your wedding is black tie, formal, or has any other specific theme. If you have events planned before the wedding, don’t forget to include the dress code for those as well.
Location
You’ll also need to add the address and name of the venue. You can also include a Google Maps widget to help everyone find the place.
If you have guests coming from out of town, it’s helpful to mention travel and accommodation information, such as the top hotels in the area and taxi/shuttle service details.
Gift Registry
You can let your guests know what to gift you through your wedding website. All you need to do is let them know where you’re registered, and also include links to the relevant sites.
RSVP Form
Including an RSVP form on your wedding website is a great way to simplify managing your guest list. You can also use this for other events leading up to the big day.
Remember though, that you may still need to be open to the traditional method of mail-in RSVPs, especially if you have older guests coming, who might not use your website.
Gallery
Your gallery section can include romantic images of you and your soon-to-be spouse, your engagement ring, your wedding party, and any other pictures you would love to share with guests.
FAQs
One of the most frustrating things about planning a wedding is answering endless questions about aspects of the day. The best way to work around this is to include a FAQ section on your wedding website.
📌 You can include questions like:
- What should I wear?
- Will the ceremony and reception be indoors or outdoors?
- What will the weather be like at that time of year?
- What time should I arrive?
- Are kids welcome?
- Is the location wheelchair accessible?
- Where are you registered?
- Can I post pictures on social media?
- How do I get to the venue?
- Can I bring a date?
- When is the RSVP deadline?
- Will there be any vegetarian/vegan/special diet options available?
At the end of your FAQ, remember to include contact details. You can add the contacts of anyone who’ll be clued up about the details. This might be your maid of honor, best man, sibling, or parent.
Don’t forget to make it exclusive!
To ensure that your wedding website and all the details about your special day are only available to your guests, setting up privacy barriers is essential.
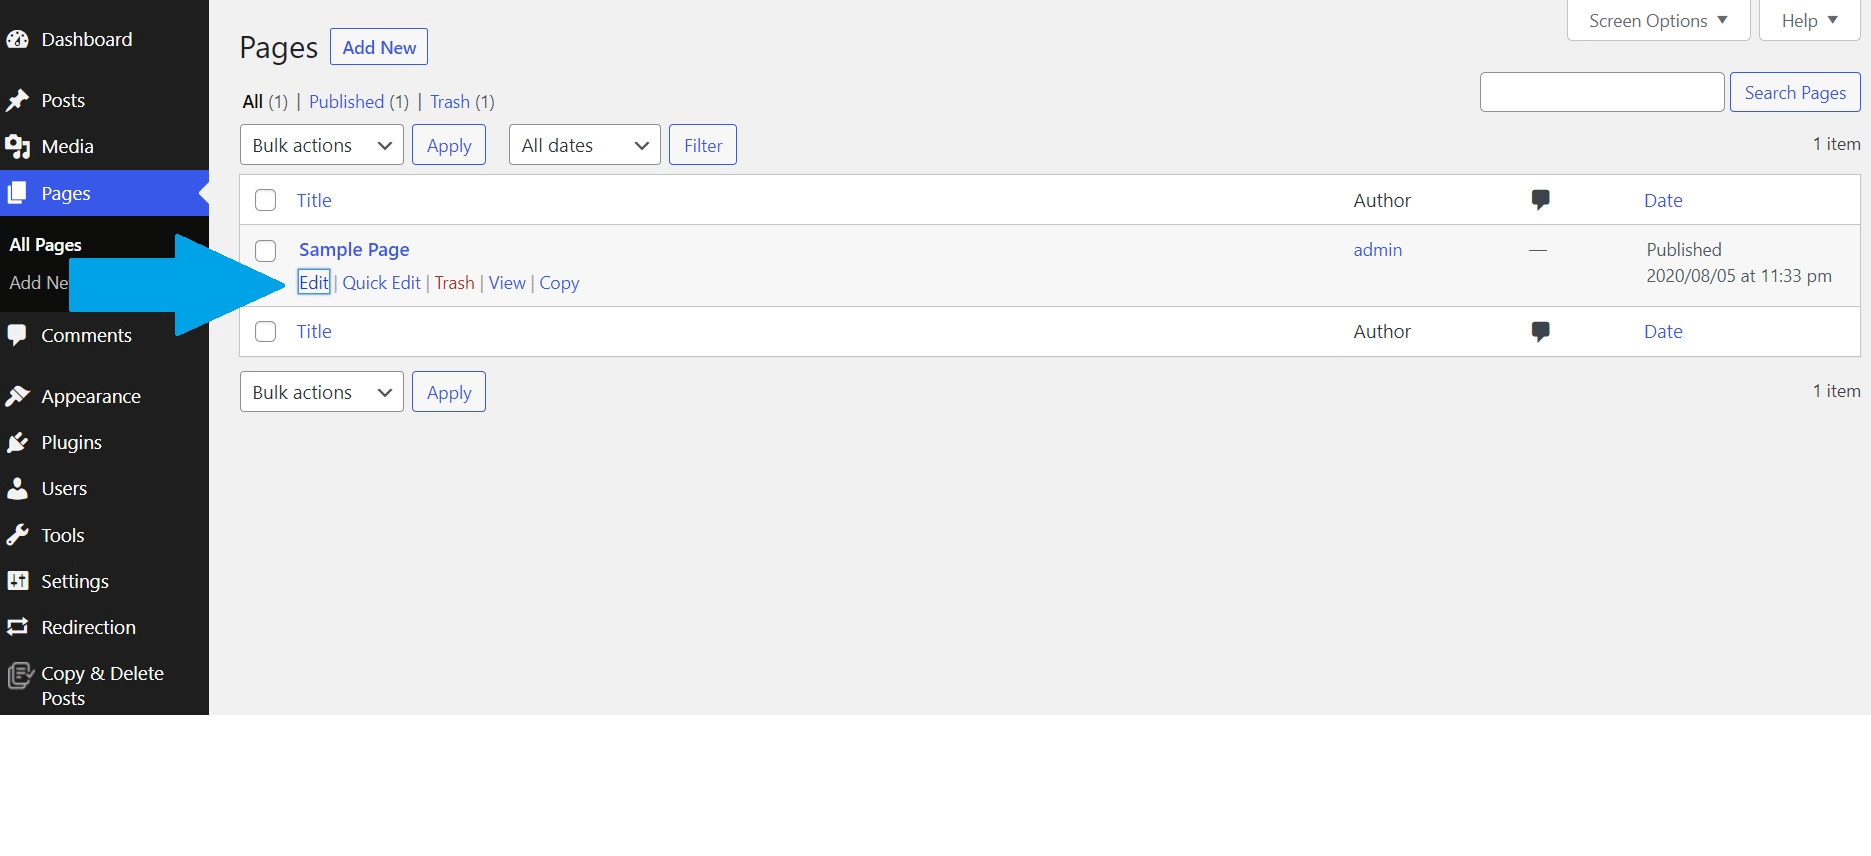
To begin, go to your dashboard, scroll down on your left-hand side’s menu and click on Pages.

This will lead you to your page management section. Just hover over the page you want to make private and click Edit.
Once the page is opened, you can then go to the right sidebar and click the Status and visibility menu.

Then, click on the word Public and choose between Private and Password Protected.
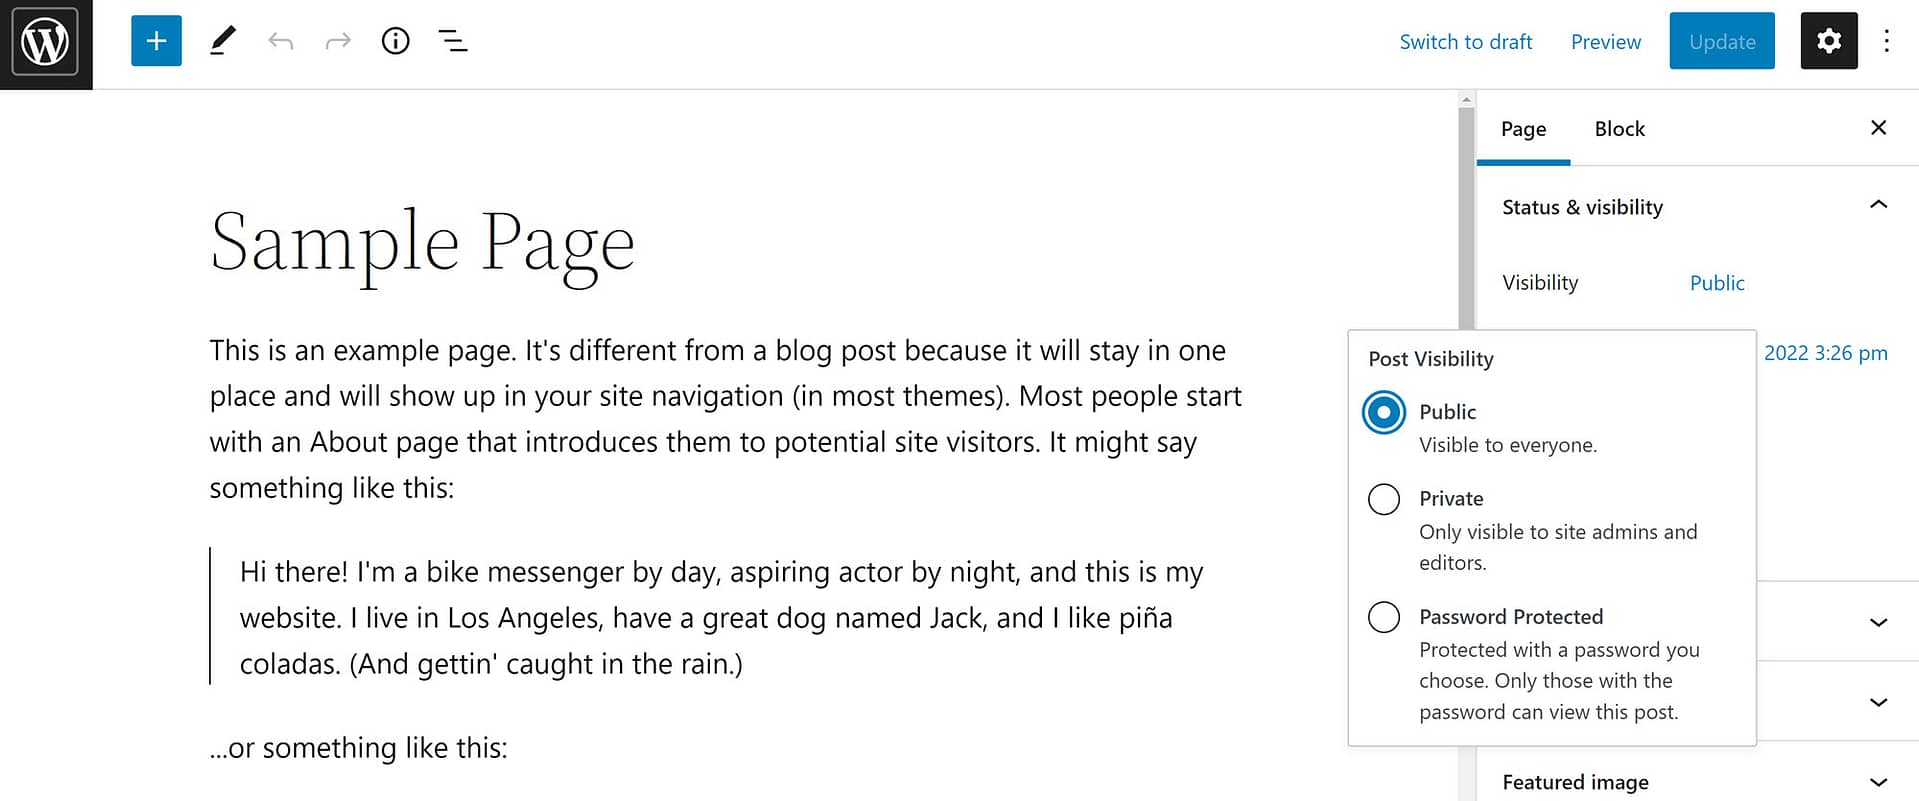
The Private option makes the page only visible to the website’s administrators. This means you’ll have to give every guest an account.
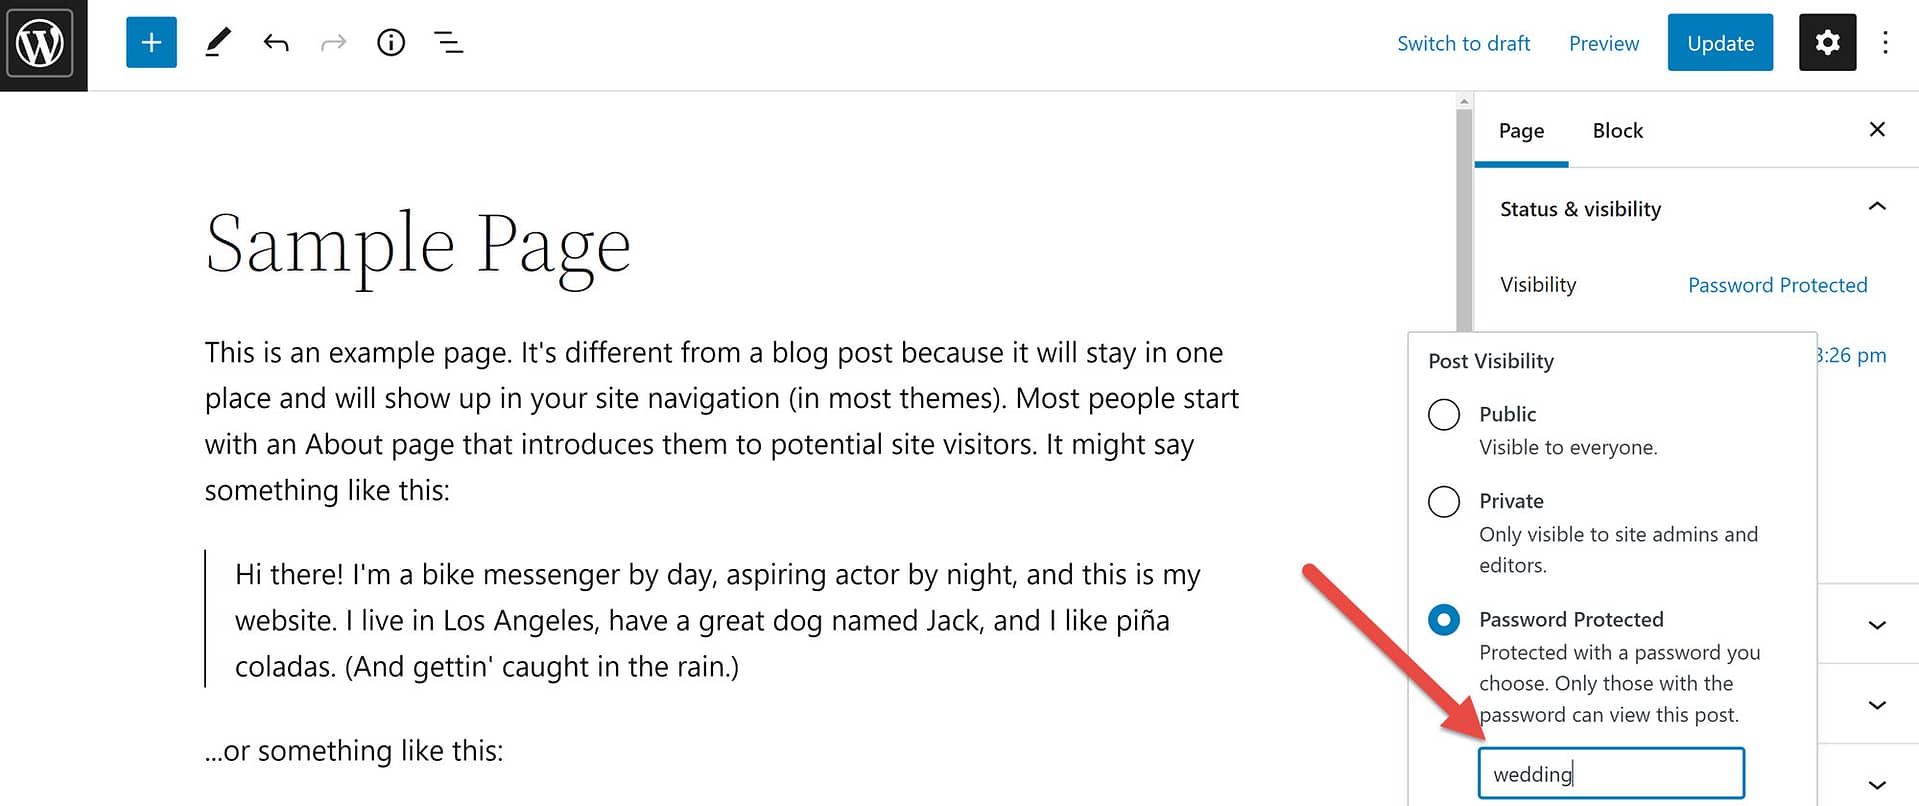
The better option is Password Protected. Simply type your password in and click the Update button in the top right corner. You can then share the password with your guests for them to be able to see your website.
Say I Do, To a Wedding Website
From choosing a web host, installing WordPress, and finding the right theme, we’ve walked you through all you need to know about creating a wedding website you can be proud of.
☝️ Above everything, we hope you realize how simple it is and that you can confidently do it without prior tech experience.
Happy wedding planning 😍 and website making!